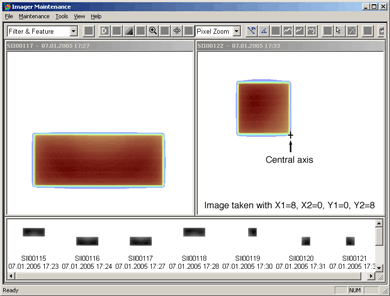
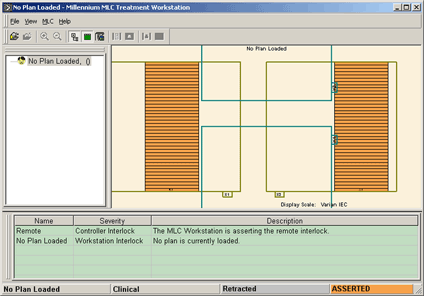
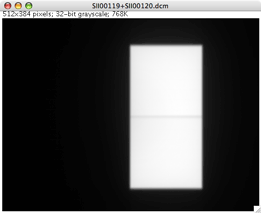
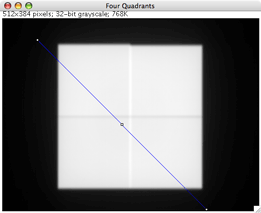
The split-field test is easily accomplished by taking four separate images of a 8x8cm field, which cover the four quadrants of a 16x16cm area. Image 1 shows the Acquisition Module (AM) Maintenance workspace, which is primarily used for calibration and servicing purposes. Here it is used to acquire images without the overhead of a verification system. Image 2 shows the MLC stand-alone software, which displays the current jaw setting for the upper left quadrant.
 |
 |
Image 1 |
Image 2 |
The images are taken as integrated images (all frames are added) - this reduces image noise.
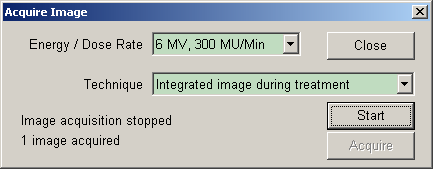 |
Image 3 |
Remark: We have calibrated the "Integrated Image" Aquisition modes to give pixel values which can be interpreted as "Dose". The calibration also introduces a beam profile correction. The reason why this is done is described elsewhere. The beam profile correction for integrated images is the reason why these images appear colored in the AM-Maintenance software and it is also the reason why the left window of Image 1 shows a circular structure centered in the window (= the beam central axis).
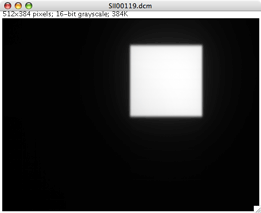
One way to look at the composite image of the four quadrants is with ImageJ (Image 4). It has to be noted that the jaw readout has a precision of 0.1cm. When jaws are positioned manually just by looking at the readout (without cross-checking on ruler paper), in principle a gap (or overlap) of up to two millimeters is possible. Automatic jaw positioning (the "clinical" situation) has a higher precision because internally the linac uses raw scale, which has 10 times the precision of the visible (IEC scale) reading.
 |
 |
 |
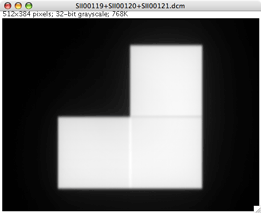 |
Image 4 |
|
The abutting field edges can be examined by plotting profiles (Image 5).
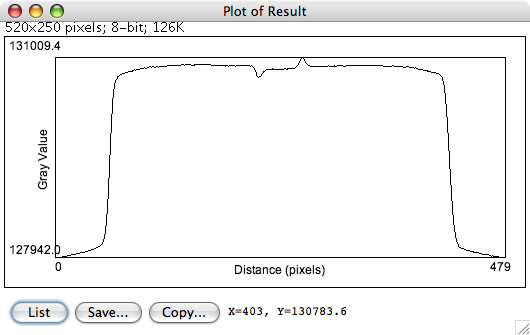 |
Image 5 |
Since tools for quantitative evaluation of the images are still missing, we prefer to perform the split field test by using the 2D-ARRAY.